A monitor arm can recover a writing zone, let a laptop sit below a call screen, or make two displays easier to arrange. It can also be a costly non-solution. This guide ends with one useful answer: buy an arm, choose another mount, or do not buy yet.
Find your next move in 10 seconds.
Choose the situation that best matches your ordinary workday.
30-second no-buy screen
- Your display has no verified VESA mount.
- The proposed edge is glass, damaged, hollow or blocked underneath.
- The desk is against a wall with no room for a clamp or cable bend.
- You only need a higher screen and have not tried a temporary riser.
This does not end the project. It changes the question from “which arm?” to “what is the safest way to create the position I need?”
Three ways this purchase goes wrong
Identify your desk situation
The five-minute proof
1 — Find the monitor facts
Use the actual model number, not diagonal size. Record its VESA pattern and weight without the original stand from the manufacturer manual. A 27-inch screen is not automatically easier to mount than a 32-inch one.
2 — Inspect the clamp from both sides
Measure the desk at the exact mount point. Then look below it: a cable tray, brace, drawer rail or bevel can make an apparently open edge unusable. Your useful note is specific: “a flat 9 cm-wide zone, 2.5 cm thick, with no brace below.”
3 — Test the benefit before purchasing
Move the existing stand back. Place a notebook or laptop where it would sit after the arm arrives. Work this way for ten minutes. If that space would not change a real task, the product has not yet earned a place.
Scenario: one desk, one clear job
A 120 cm desk sits against a wall. A 27-inch screen forces its owner to move a notebook aside during every call. The display has VESA holes, the rear lip is clear and cables have room to bend. A single arm is a strong candidate because the recovered space has a specific job.
Scenario: compatible screens, incompatible clamp
Two displays fit a dual-arm listing, but a fixed cable tray blocks every rear clamp position. Do not buy the dual arm. Research an approved grommet point or a freestanding VESA stand first; otherwise keep the original stands.
Read listings like a fit document
Buy only when all four are true.
- My display’s VESA pattern and weight fit the published range.
- My desk has a permitted, flat and unobstructed mount zone.
- I tested the space or position it will recover during a normal task.
- I checked return terms for a real-world fit test.
If any answer is “I think so,” pause. The better next step may be a tape measure, a riser—or no product at all.
Choose the route that matches your desk.
These are not “best overall” picks. Each is here because it matches one specific scenario in this guide.
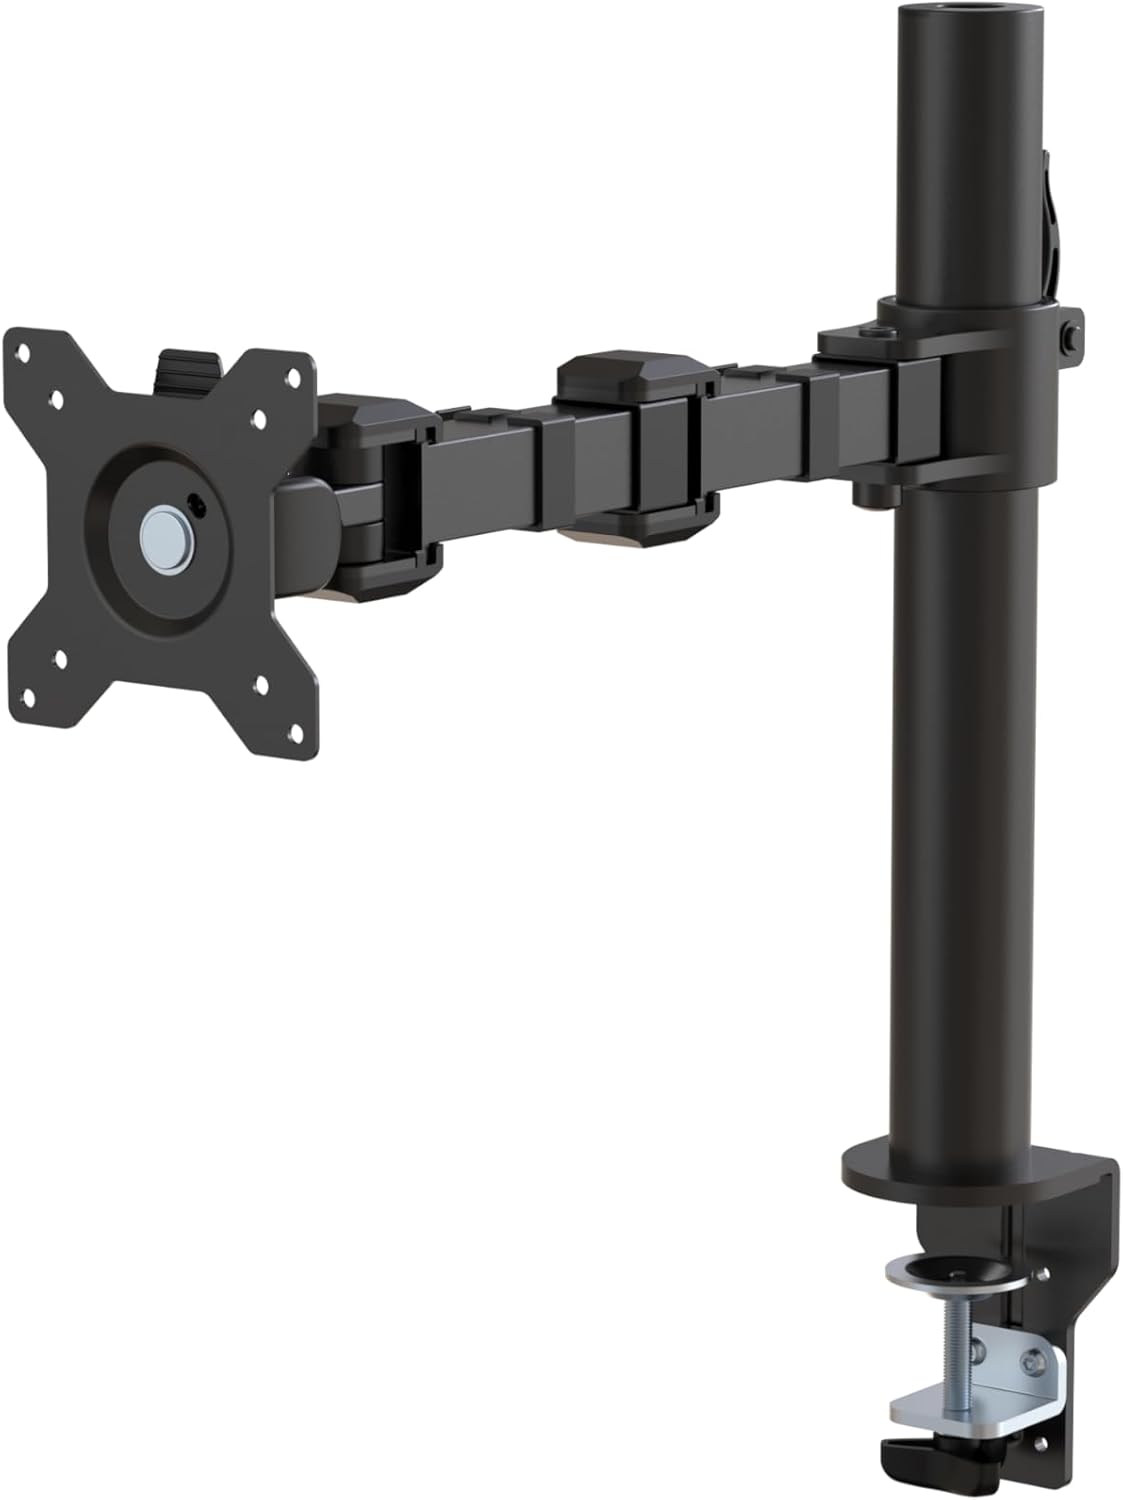
Amazon Basics Single Monitor Arm
Why it is here: a research route for one compatible display when the goal is to recover a named work zone.
View product →Skip it if: you need two independently positioned displays, or the desk cannot accept a clamp.
Check first: VESA, without-stand weight, clamp contact and return terms.

MOUNTUP Dual Monitor Desk Mount
Why it is here: a research route when two compatible displays need separate adjustment and the desk can accept its base.
View product →Skip it if: one stable screen is all you need, or a rear cable tray blocks the mounting zone.
Check first: the published weight range for each arm, not only the combined total.
Your desk cannot take a clamp?
Do not use a clamp arm. Keep the original stand while you confirm whether the desk maker permits a grommet mount. If not, research a freestanding VESA stand or a stable riser; these solve a height or positioning issue without asking an unsuitable desk edge to carry the load.
Product links and images were reviewed Jul 17, 2026. Product links are selected independently. Listings, availability and specifications can change.